New e-bike rider checklist
What New E-Bike Riders Actually Need Before Their First Week
A calm checklist for fit, braking, charging, locking, flats, route planning, and the small setup steps new riders forget.
Buying an e-bike can make the first week feel bigger than it needs to be.
There are helmets, locks, chargers, apps, bags, mirrors, tire liners, gloves, racks, baskets, alarms, insurance offers, range claims, and a dozen people telling you what you should have bought instead. Some of that advice is useful. Some of it is just accessory noise.
For your first week, the goal is simpler: make the bike fit, make sure it stops, know how you will charge it, know how you will lock it, and have a plan if something goes wrong.
That is the signal. Everything else can wait.
The mistake: buying accessories before knowing your route
A new e-bike rider does not need a full wall of gear on day one. They need a first-week system.
Your actual route will tell you more than a shopping list. A short grocery trip may reveal that you need a rear basket, not a backpack. A commute test may show that your problem is lighting, not range. Apartment storage may make a folding lock more useful than a heavy chain you never carry. A hilly neighborhood may make brake feel and tire pressure more important than another speed setting.
Start with the problems you are trying to prevent:
- feeling unstable or uncomfortable on the bike
- being hard to see
- running the battery lower than expected
- locking the bike poorly
- getting a flat with no plan
- choosing a stressful first route
- having no shop or service option when something feels off
That is the first-week checklist. Not a gear haul.
First: make sure the bike fits and stops properly
Before you worry about add-ons, spend time with the bike itself.
You should be able to reach the brake levers comfortably. You should understand the display well enough to change assist levels without staring at it. You should know where the lights are controlled, how the walk mode works if your bike has one, and how the bike feels when the motor support starts and stops.
The first ride should not be your first real test.
Use a quiet street, parking lot, driveway, or open path and practice:
- starting from a stop without wobbling
- braking gently and then firmly
- shifting through gears if the bike has them
- changing assist levels
- turning at low speed
- walking the bike while it is powered off
- mounting and dismounting with bags or cargo attached
A small fit issue can become a big confidence problem. Saddle height, handlebar angle, brake lever reach, and tire pressure are not glamorous specs, but they decide whether the bike feels like yours.
Every spec tells a story. In week one, the story starts with control.
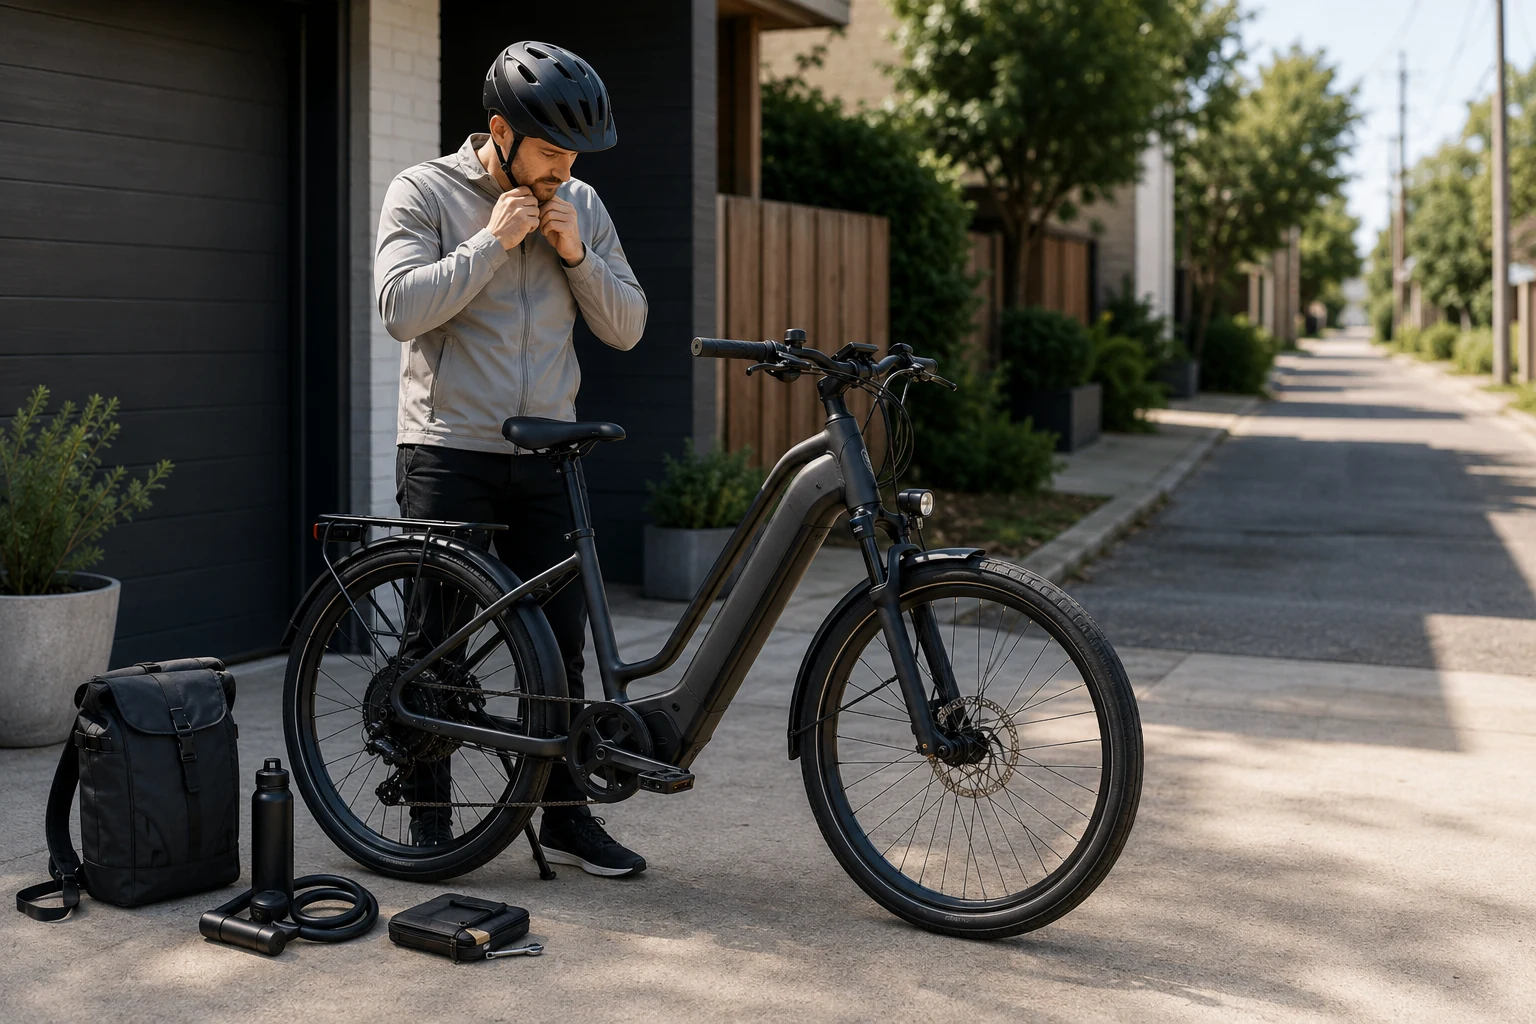
The safety basics that matter on day one
Safety gear gets overcomplicated fast. Start with visibility, stopping, and predictability.
At minimum, check that your helmet fits, your lights work, your tires are inflated, your bell or horn is usable, and your brakes feel consistent. If your bike came with reflectors, make sure they are still installed and visible. If you ride near cars, avoid dark clothing at night unless you also have lighting or reflective details that make you easy to notice.
Do not assume the bike is ready just because it is new. Shipping, assembly, test rides, loose accessories, and first adjustments can all change how a bike feels.
Before your first normal ride, check:
- front and rear brake response
- tire pressure
- front and rear lights
- wheel security
- handlebar alignment
- saddle position
- battery latch or mount
- cargo attachments
- kickstand clearance
- any unusual rubbing, clicking, or scraping
This is not about being paranoid. It is about removing the easy problems before they become ride problems.
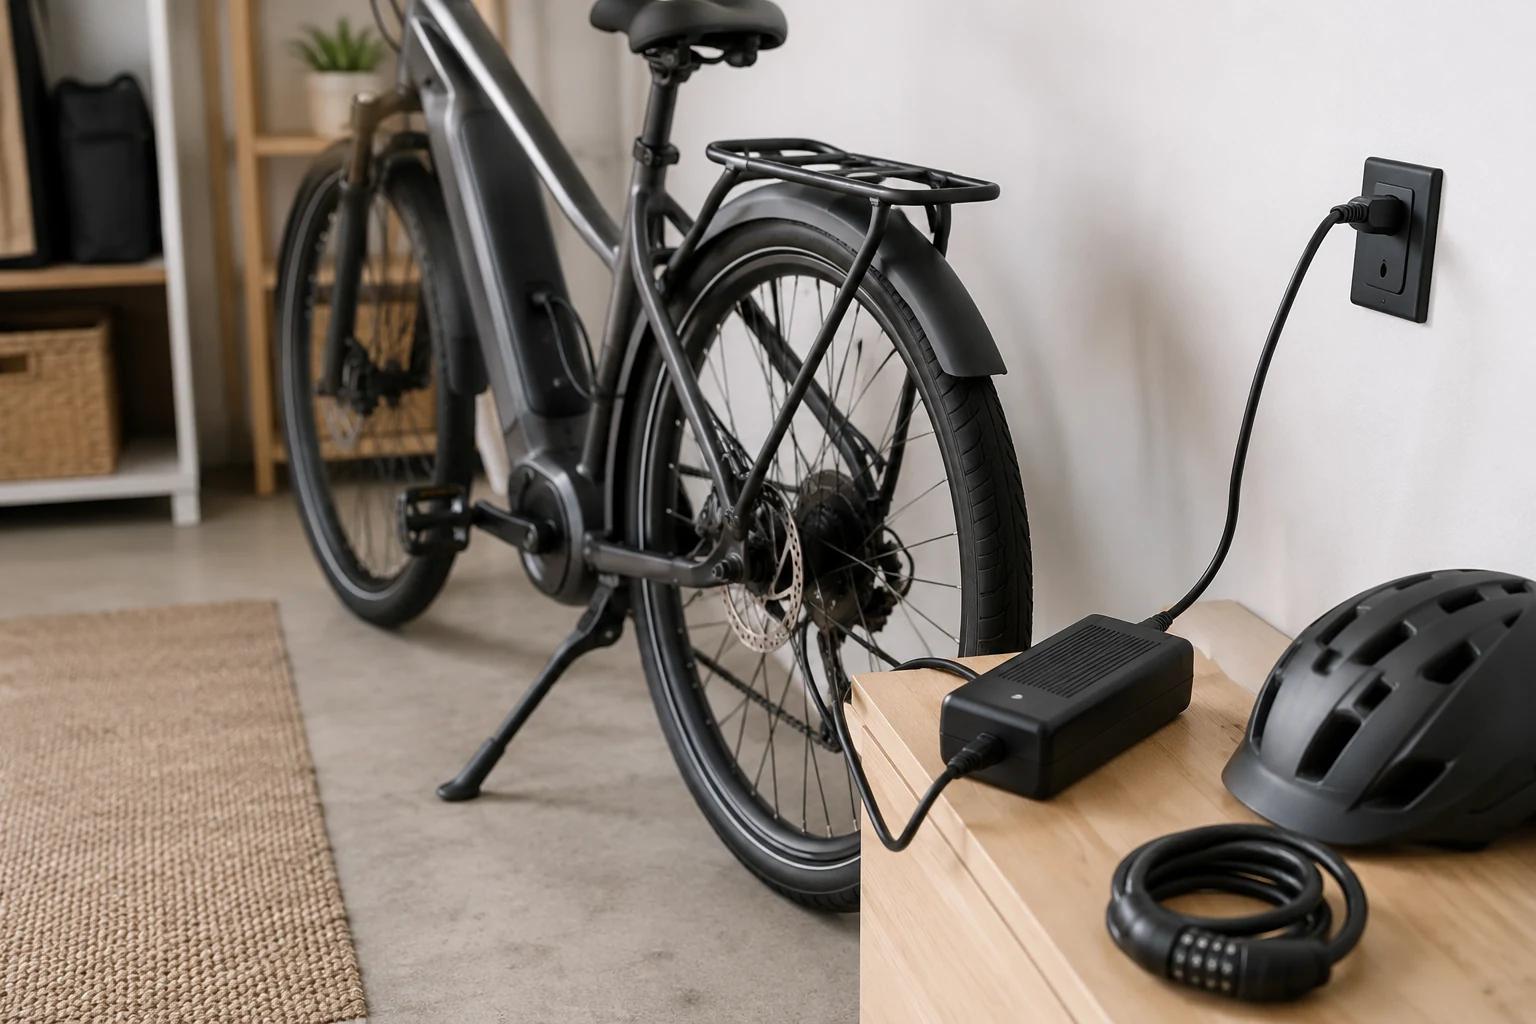
Your charging routine matters more than range claims
Range numbers are helpful, but they do not ride your route. Wind, hills, rider weight, tire pressure, cargo, temperature, assist level, and stop-and-go riding all affect how far an e-bike feels like it can go.
For the first week, do not build your plan around the biggest range number in the marketing copy. Build it around a charging routine you will actually follow.
Pick one clean, dry charging spot. Keep the charger where you can find it. Avoid stringing the cable across a walkway. Do not bury the charger under clothing, bags, or paper. Use the charger supplied with the bike or recommended by the manufacturer, and follow the brand's instructions for storage and charging.
A useful routine might be:
- check battery level when you get home
- charge in a clear indoor spot
- unplug and store the charger neatly
- top up before a longer errand or commute
- avoid treating "almost empty" as normal
The point is not to obsess over the battery. The point is to make charging boring.
Boring is good. Boring means the bike is ready when you are.
A lock plan beats an expensive lock used badly
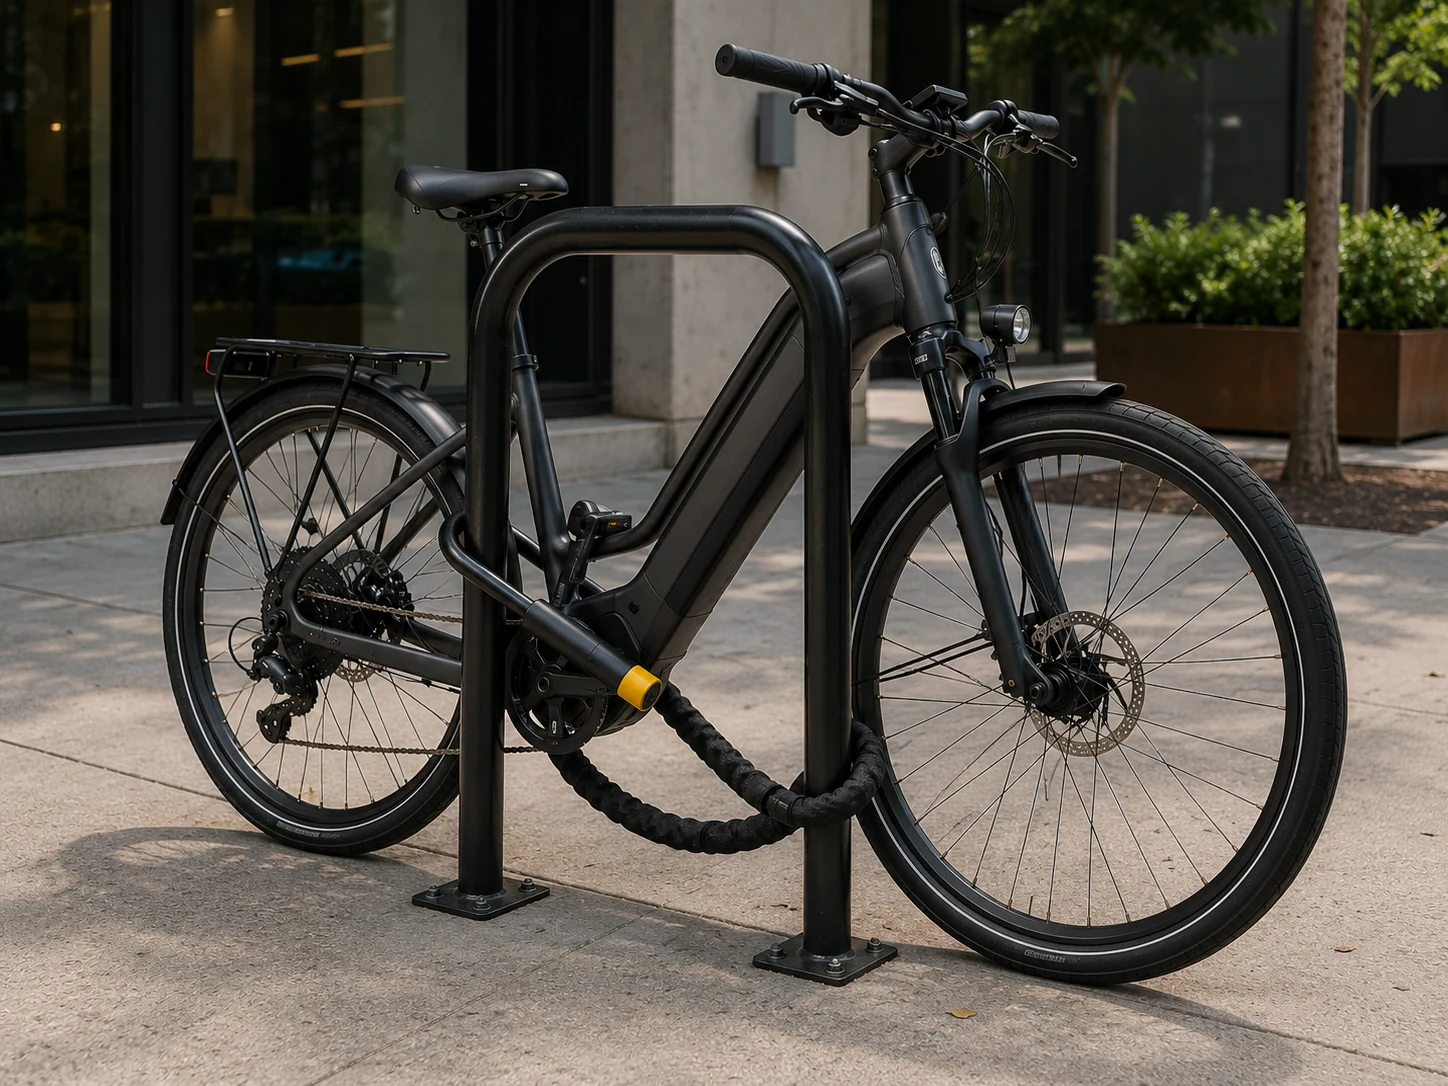
A lock is not a plan by itself.
The first question is not, "What is the most expensive lock?" The better first question is, "Where will I park, what will I lock to, and how long will the bike be there?"
For short stops, you still need a consistent routine. For long stops, you need to be more selective about the location. Look for a fixed rack or solid structure. Avoid locking only a removable wheel. Avoid loose poles, small signs, thin railings, or anything the bike can be lifted over.
A simple first-week locking habit:
- lock the frame to something fixed
- include a wheel when possible
- keep the lock tight enough that it is hard to maneuver tools around it
- park in visible areas
- remove easy-to-grab accessories
- do not leave the battery or display exposed if they are removable and the area feels risky
This is where many new riders lose the plot. A very good lock used badly can still leave the bike vulnerable. A practical lock used consistently and frame-first is a better start.
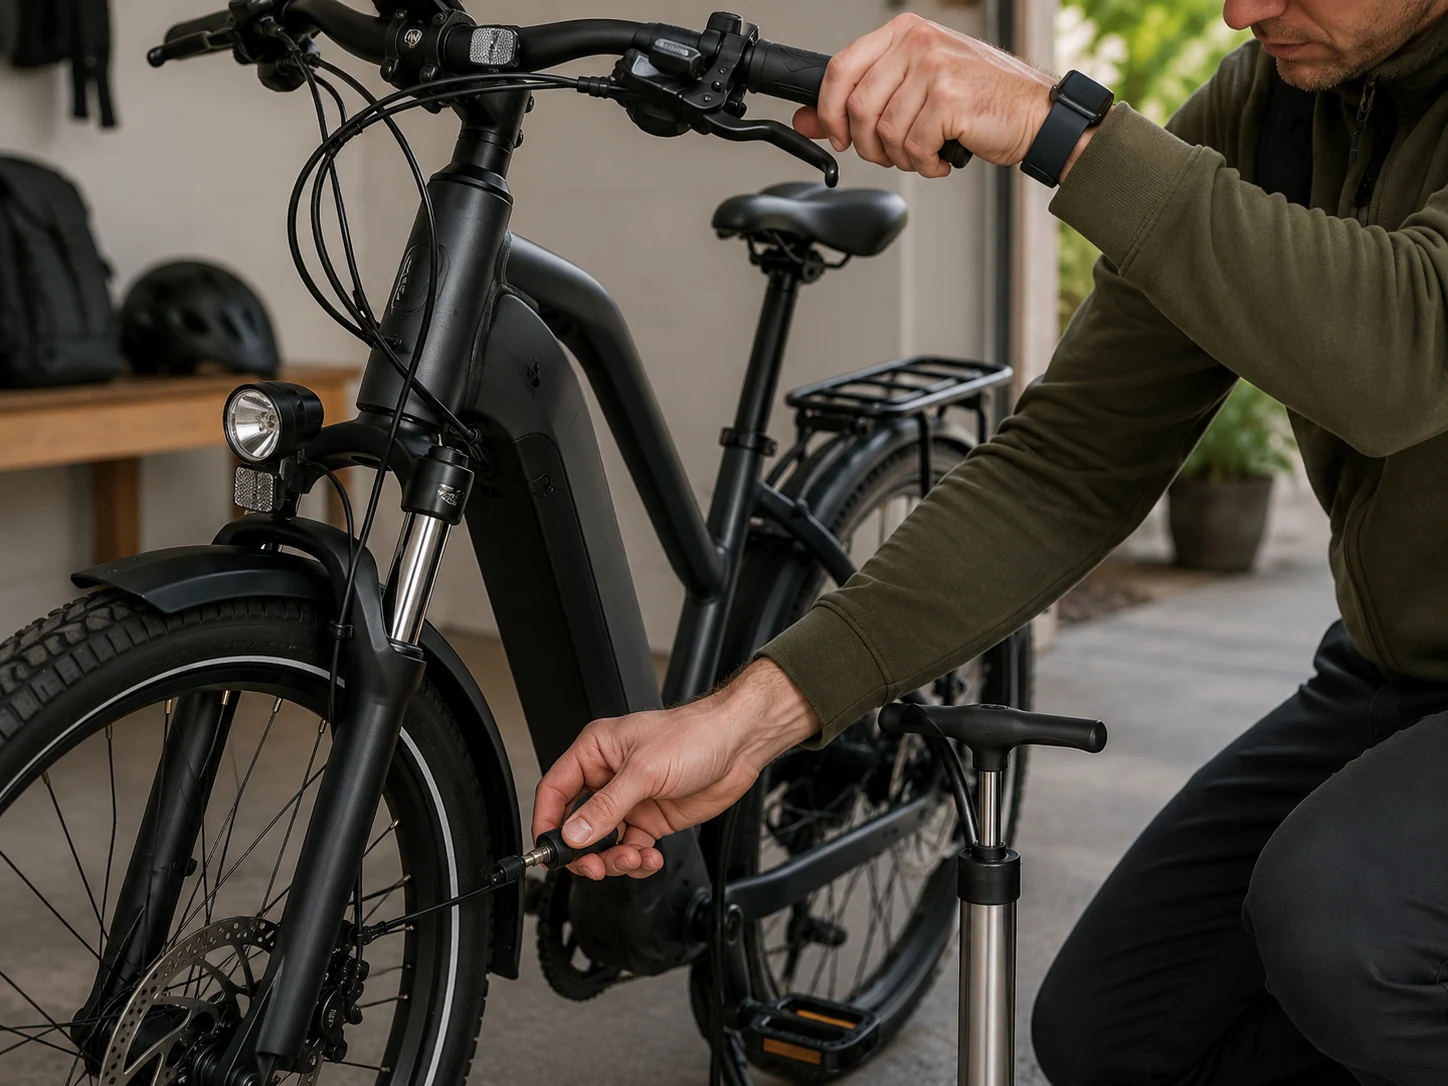
Flat-tire readiness: what to carry and what to outsource
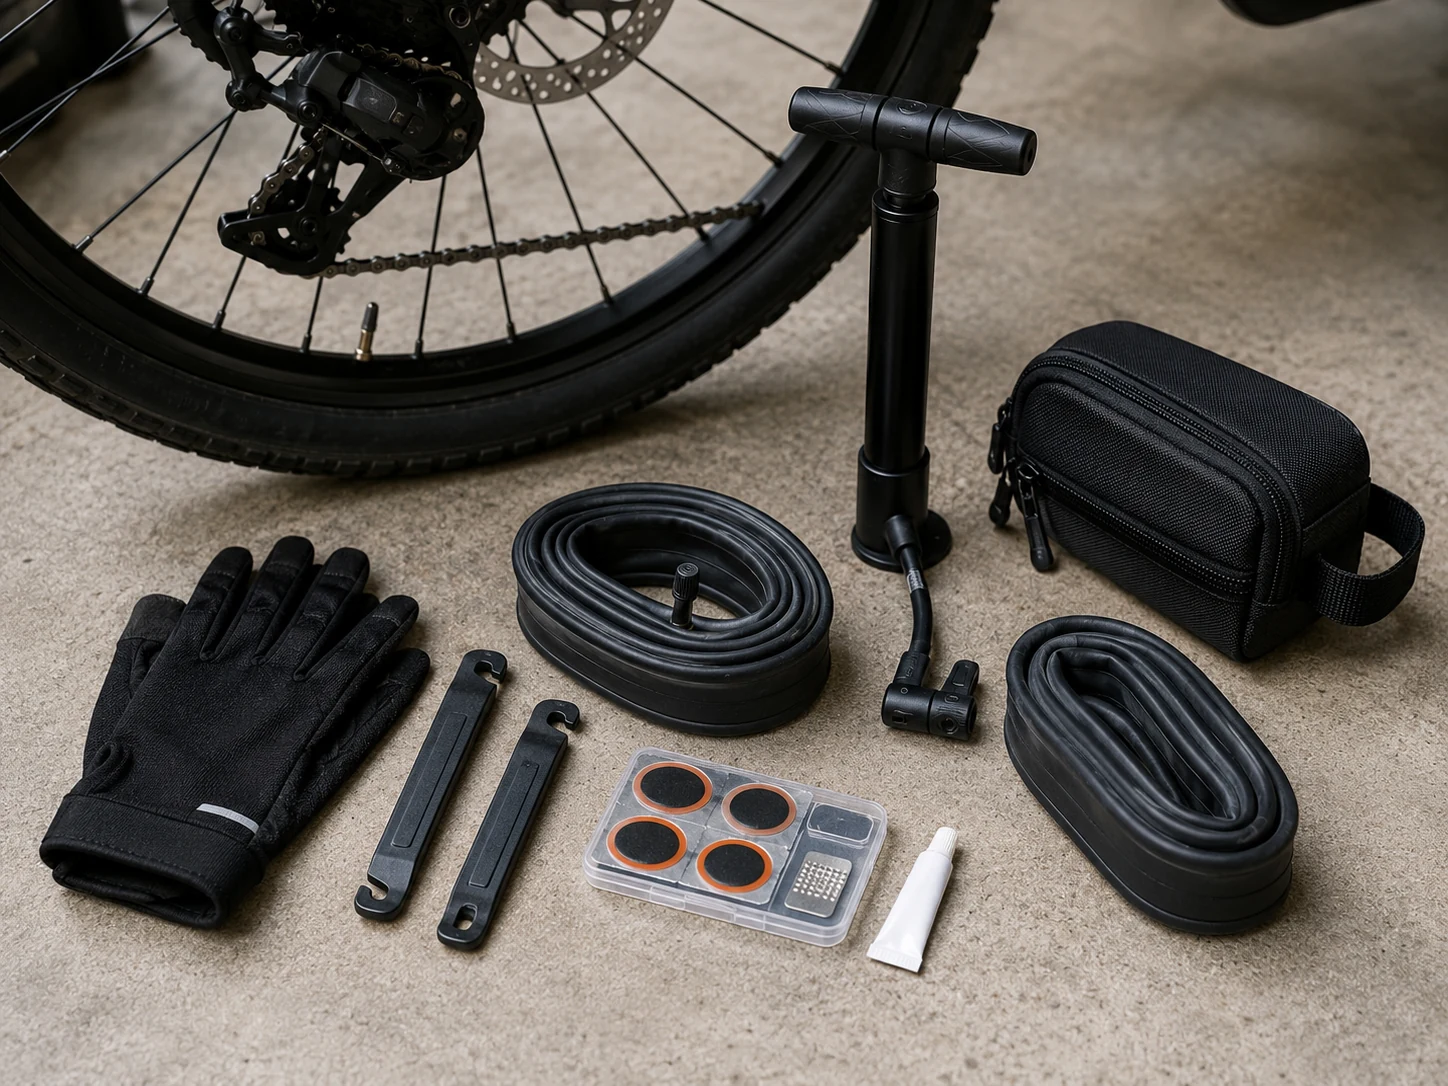
You do not need to become a mechanic before your first week. You do need a flat plan.
E-bike flats can be more annoying than regular bike flats because the bike is heavier, the wheels may be harder to remove, and some rear hub motor setups are less beginner-friendly. That does not mean you need to carry a workshop. It means you should know what you can handle and what you will outsource.
A practical first-week flat kit can include:
- a compact pump or inflator
- tire levers
- a spare tube or patch option that fits your tires
- disposable or washable gloves
- a small pouch
- the phone number or location of a shop, mobile mechanic, or service option
The last item matters. If you are not comfortable removing a wheel, that is fine. Your plan can be "inflate enough to get home" or "call the shop I already saved." The bad plan is discovering your options after the tire is already flat.
Also check tire pressure during week one. Underinflated tires can make the bike feel sluggish, reduce control, and make flats more likely. The correct pressure depends on the tire, rider, cargo, and riding surface, so use the tire sidewall and the bike maker's guidance as your starting point. For more repair context, keep an e-bike flat tire guide close.
Plan your first seven days around useful, forgiving rides
Your first route should not be the hardest version of your life.
Before you rely on the e-bike for work, school pickup, transit connections, or a time-sensitive appointment, ride one test version of the route. Look for rough pavement, confusing intersections, steep starts, bad sightlines, uncomfortable traffic, and awkward parking.
Start with a useful but forgiving ride:
- a coffee run
- a short grocery trip
- a visit to a friend
- a park loop
- a transit stop test
- a weekend version of your commute
The goal is to learn the bike without stacking pressure on top of it. A route that looks short on a map may feel very different with traffic, cargo, hills, weather, or a nervous first rider.
Local rules also matter. Speed limits, path access, helmet rules, throttle restrictions, and where different classes of e-bikes can ride vary by place. When in doubt, check local e-bike laws by state and city before making a path or roadway part of your routine.
Storage, weather, and carrying real stuff
New riders often discover the storage problem after the purchase.
Where will the bike live at night? Can you roll it into that space without lifting it? Will the handlebars fit through the door? Is there room to charge safely? Does the kickstand work on your floor or driveway? Can you keep wet tires off a carpeted hallway? Can you carry groceries without hanging bags from the handlebar?
These details are not exciting, but they decide whether the e-bike becomes part of daily life.
For week one, keep cargo simple. A backpack is fine for short rides, but too much weight on your back gets old quickly. A rear rack, basket, pannier, or small trunk bag may become useful once you know what you actually carry. Do not buy the full cargo setup until your first few errands tell you what is missing.
Weather is the same. Ride first, then solve the real problem. Maybe you need gloves. Maybe you need fenders. Maybe you need a brighter rear light. Maybe you need a waterproof bag more than a new jacket.
Let the route teach you.
Your first service plan
A good first week includes one boring question: who will help if something feels wrong?
Save the contact for the shop that sold the bike, a local e-bike shop, a mobile mechanic, or the manufacturer's support page. If the bike came direct-to-consumer, check whether local shops will service that model before you need help.
Early issues are often small: brake adjustment, rubbing fender, loose accessory, display setting, shifting tune, tire pressure confusion, or a charger question. Small issues are easier when you already know where to go.
A service plan is not a sign that you bought the wrong bike. It is part of owning a machine with wheels, brakes, electronics, and regular wear. A basic e-bike maintenance checklist and a repair-support plan are both useful signals.
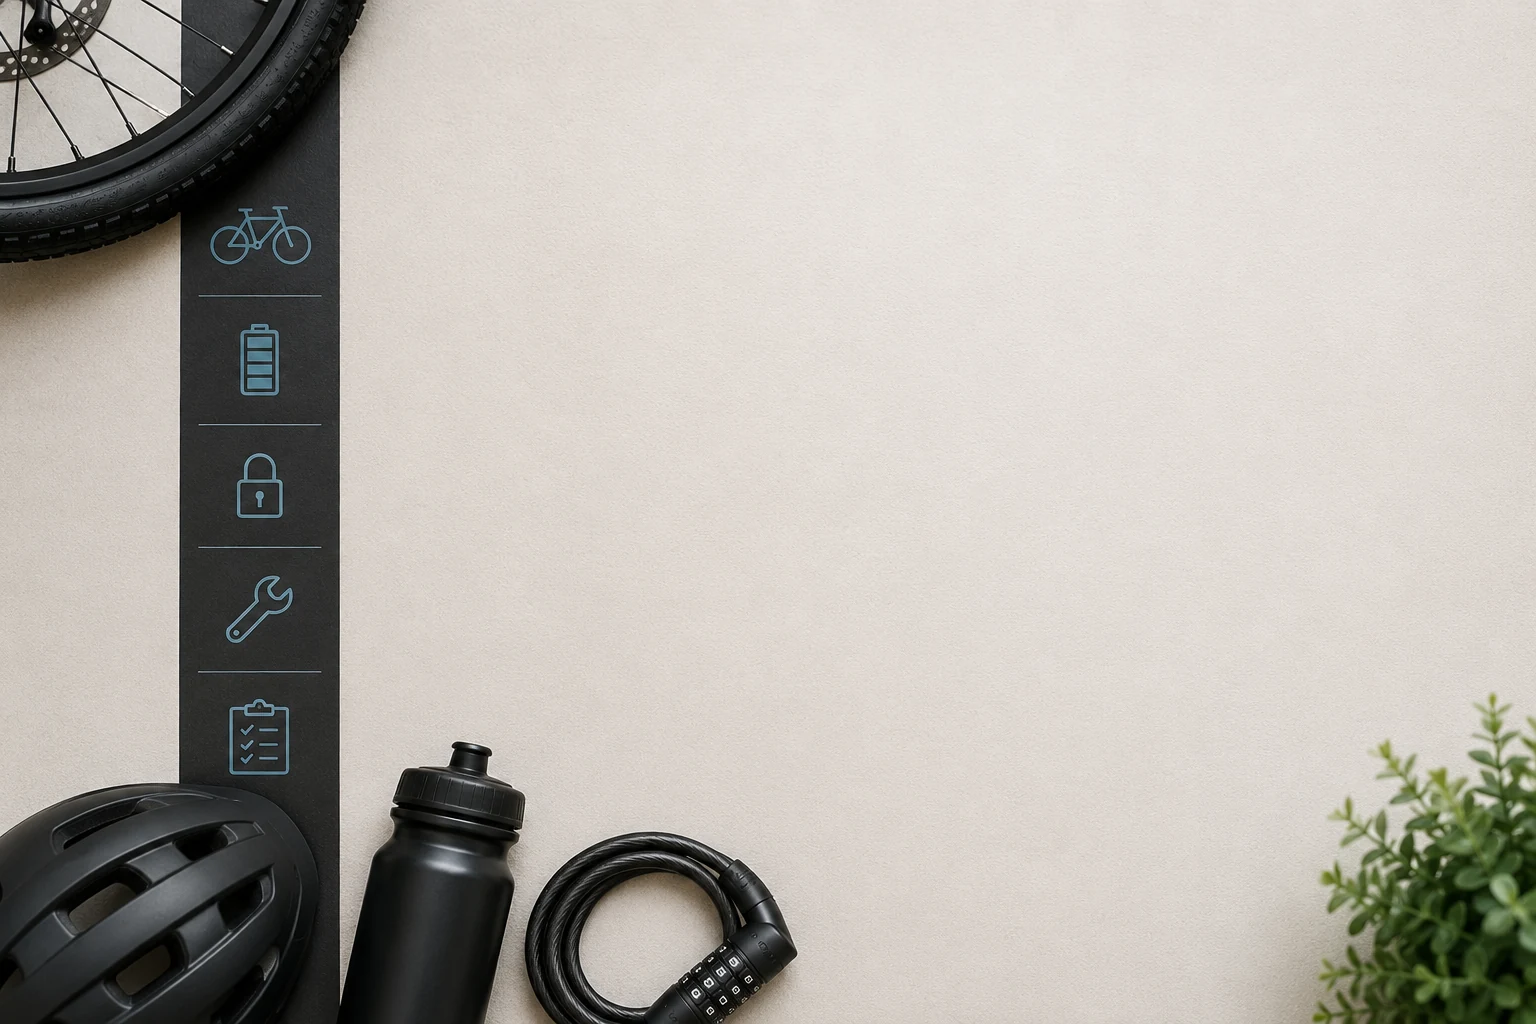
The first-week e-bike readiness checklist
Use this as the simple version. Save it, print it, or turn it into a phone note.
Fit and control
- Adjust saddle height.
- Check brake lever reach.
- Practice starting and stopping.
- Test assist levels somewhere quiet.
- Make sure you can read and use the display without distraction.
Safety
- Helmet fits securely.
- Front and rear lights work.
- Bell or horn is easy to reach.
- Tires are inflated.
- Brakes feel consistent.
- Nothing rubs, rattles, or scrapes.
Charging
- Pick a clean, dry charging spot.
- Use the supplied or manufacturer-recommended charger.
- Keep the cable out of walkways.
- Check battery level before longer rides.
- Build a routine you can repeat.
Locking
- Lock the frame to something fixed.
- Include a wheel when possible.
- Avoid tire-only locking.
- Park in visible areas.
- Remove easy-to-grab accessories.
- Know where you will park before you arrive.
Flats
- Carry a pump or inflator.
- Carry the correct spare tube or patch option.
- Know whether you can remove the wheel yourself.
- Save a repair option before you need it.
- Check tire pressure during the week.
Route
- Test one short useful route.
- Avoid making your first ride time-sensitive.
- Notice hills, traffic, rough pavement, and parking.
- Check local e-bike rules where needed.
- Adjust your route before your commute depends on it.
Service
- Save a shop, mobile mechanic, or support contact.
- Ask what they can service.
- Schedule a check if brakes, shifting, wheels, or electronics feel wrong.
- Do not ignore a new sound that changes how the bike rides.
What to buy now, later, and maybe never
The right first purchases depend on your bike and route, but this order keeps things grounded.
Buy now
Start with items that prevent real first-week problems:
- properly fitting helmet
- practical lock setup
- lights if your bike does not already have good ones
- flat plan or basic flat kit
- simple way to carry essentials
- charger storage routine
- weather item only if the forecast demands it
Buy later
Add these after a few rides show what is missing:
- panniers or basket
- mirror
- phone mount
- rain shell or waterproof bag
- upgraded saddle
- brighter lights
- fenders if the bike lacks them
- storage rack, wall hook, or floor mat
Maybe never
Skip anything that does not solve your actual use case:
- oversized accessory bundles
- speed gadgets you do not need
- decorative add-ons that make the bike more attractive to thieves
- complicated tools you will not learn to use
- cargo gear before you know what you carry
- comfort upgrades before you adjust the fit
The first week is not about building the perfect e-bike setup. It is about building a setup you trust.
Bottom line
A new e-bike rider does not need to buy everything before the first week. They need to remove the obvious failure points.
Make the bike fit. Practice stopping. Charge in a predictable place. Lock the frame to something fixed. Have a flat plan. Choose forgiving first routes. Save a service contact before a small issue becomes a ride-stopper.
That is how you turn a new e-bike from a big purchase into a useful habit.
Signal over noise. Every spec tells a story.
Save the first-week checklist
Before you buy more gear, make sure the basics are covered: fit, safety, charging, locking, flats, route, and service.
Download the checklistFind help before something goes wrong
A good first week is easier when you already know who can adjust brakes, fix a flat, inspect a battery issue, or answer a setup question.
Check repair supportPlan your first useful ride
Start with one short route you actually need: a grocery trip, coffee run, school pickup, transit stop, or commute test.
Explore local riding routesGet the signal before you buy more stuff
Simple e-bike ownership guidance, buyer explainers, and practical maintenance notes without the hype.
Join Ebike SignalFAQ
FAQ
What should I buy first for a new e-bike?
Start with problem-solving basics: a properly fitted helmet, lights if the bike does not already have them, a frame-first lock plan, a flat-tire plan, and a safe charging routine. Avoid buying a large accessory bundle before you know your actual route and storage needs.
Do new e-bike riders need a repair kit right away?
Most new riders should have a flat plan right away. That can mean carrying a small pump, tire levers, and a tube or patch option, or knowing the nearest shop or mobile mechanic. The key is deciding what you can handle yourself before your first real ride.
How should I prepare for my first week commuting by e-bike?
Test your route before relying on it, check brakes and tire pressure, confirm your charging routine, practice locking the frame to something fixed, and carry only the essentials. A short practice ride often reveals more than an accessory list.
Should I buy every e-bike accessory before my first ride?
No. Buy the essentials that solve immediate safety, security, charging, and flat-tire problems. Add cargo, weather, comfort, and commuting accessories after you understand how and where you actually ride.